

Last Updated: November 7, 2026
Quick Summary
Preventing fabric discoloration during industrial drying means controlling temperature, dwell time, airflow, and residue instead of running a single machine default across a mixed line. Fabric discoloration is any unwanted shift in a textile's color, including yellowing, dulling, darkening, or patchy shade variation, and it usually traces to excess heat, residual moisture, chemical residue, oxidation, or mineral stains. Set dryer parameters per fiber and dye class, confirm wash-off is complete, and verify each setting with colorfastness testing before and after drying.
- Heat does not create color problems on its own; it accelerates chemistry already happening in the fabric.
- Yellowing during manufacturing usually traces to one of five sources, including excess heat and residual moisture.
- Control dryer air temperature, fabric surface temperature, airflow, and dwell time as four separate setpoints.
- Dry light and dark batches on separate cycles and never load different dye classes into one dryer run.
- Run a crocking test before and after drying; a drop in rating means the dryer settings need review.
Table of Contents
- Why Fabric Discoloration Happens in Industrial Dryers
- Common Causes of Fabric Yellowing During Manufacturing
- Setting Industrial Fabric Drying Temperature and Time
- Preventing Color Transfer in Textiles Across the Drying Line
- Fabric Colorfastness Testing Before and After Drying
- Root-Cause Diagnosis and Quality Control Metrics
- Sourcing Fabrics That Hold Color Through Production
- Frequently Asked Questions
Why Fabric Discoloration Happens in Industrial Dryers
Preventing fabric discoloration during industrial drying starts with understanding one fact: heat does not create color problems on its own. Because heat accelerates existing chemical reactions, controlling temperature and residue is central to preventing uniform fading as well as discoloration during industrial drying.
Fabric discoloration is any unwanted shift in a textile's color, including yellowing, dulling, darkening, or patchy shade variation. The shift can appear during drying or days afterward.
A 2026 review in Drying Technology frames drying as a critical stage in web-based manufacturing, sitting directly between washing, bleaching, and dyeing (Drying of textiles and coated webs(EXTERNAL_LINK: Drying of textiles and coated webs | tandfonline.com)).
Heat, Moisture, and Oxidation
Three variables drive most dryer-related color damage: temperature, residual moisture, and oxygen exposure.
- Heat speeds up dye migration and can push dyes past their stable range.
- Moisture left in the fabric keeps chemical reactions running after the dryer stops.
- Oxygen reacts with the fiber surface, and that reaction shows up as yellowing.
Cotton Incorporated describes fabric yellowing as one of the oldest and most widespread textile quality problems (Overview of Fabric Yellowing(EXTERNAL_LINK: Overview of Fabric Yellowing | cottoninc.com)). It is not a rare defect. It is a baseline risk that every drying line has to manage.
Mechanical and Chemical Contributors
Heat gets blamed first. In practice, mechanical and chemical factors often start the problem.
- Over-tensioned fabric under heat can show shine and shade shifts.
- Detergent or bleach residue left after washing reacts in the dryer.
- Mineral deposits from hard water bake into the surface as stains.
- Fabric softener buildup traps heat unevenly across the roll.
Piedmont Chemical notes that antioxidant treatments work by oxidizing instead of the fabric surface (Piedmont Chemical guidance on yellowing(EXTERNAL_LINK: Piedmont Chemical guidance on yellowing | piedmontchemical.com)). That is the logic to keep in mind: something should absorb the oxidation, and it should not be your fabric.
Common Causes of Fabric Yellowing During Manufacturing
Yellowing during manufacturing usually traces to one of five sources. Finding the right one changes the fix entirely.
- Excess heat exposure. Dryer temperature runs above what the fiber and dye can take.
- Residual moisture. Fabric exits the dryer slightly damp and yellows in storage.
- Chemical residue. Bleach, detergent, or softener left in the fiber reacts with heat.
- Oxidation. The fiber surface oxidizes during or after drying.
- Mineral stains. Iron or calcium in the water supply leaves deposits that darken with heat.
A step-by-step approach to avoiding shade shifts helps narrow this down fast. Our guide on how to avoid fabric color variation walks through the diagnostic sequence we recommend.
Setting Industrial Fabric Drying Temperature and Time
Industrial fabric drying temperature and time should be set per fiber and dye class, not per machine default. Discoloration often comes from one setting applied across a mixed production line.
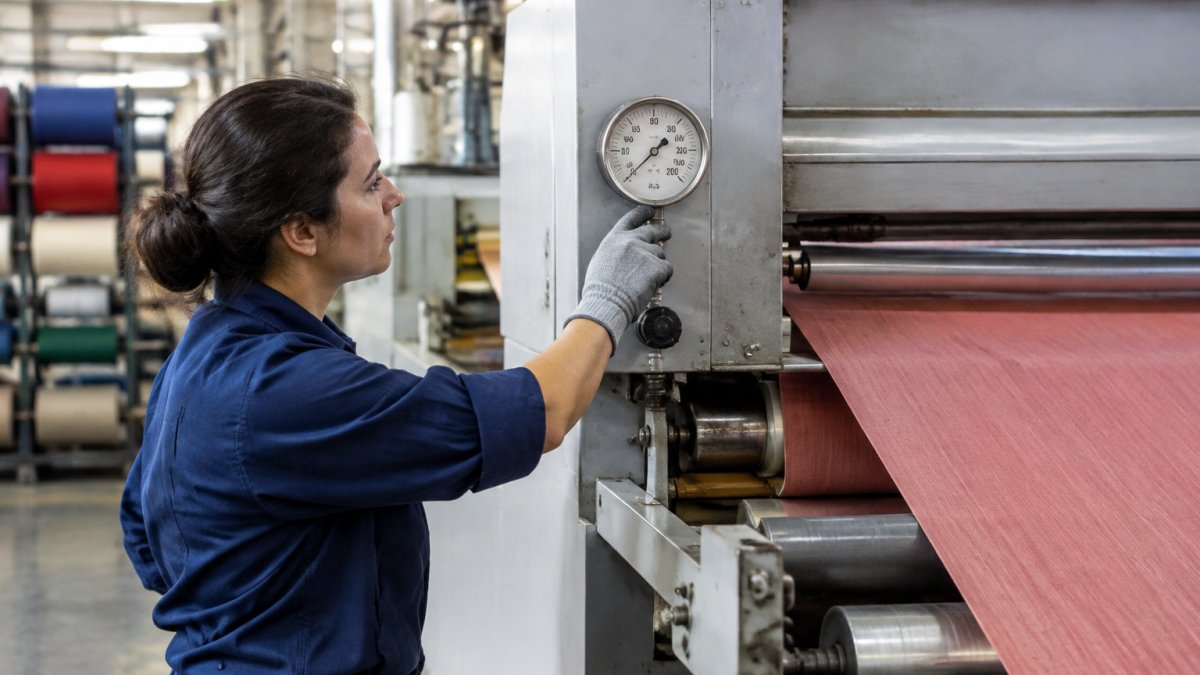
Start with these rules:
- Match temperature to fiber. Heat-sensitive fibers need lower settings than cotton or polyester blends.
- Control dwell time. Longer time at lower heat beats short bursts of high heat.
- Keep airflow consistent. Uneven airflow creates patchy drying and patchy shade.
- Monitor exit moisture. Fabric should leave at a consistent, measured moisture level.
Process Controls That Actually Prevent Shade Shift
A dryer setpoint is not the same as the temperature the fabric sees. Air temperature can run well above fabric surface temperature, especially early in the cycle when moisture is still evaporating.
Set and record these variables for every batch:
- Dryer air temperature at entry, middle, and exit zones. Zone-to-zone variation is a common cause of patchy shade.
- Fabric surface temperature at the exit of each zone, measured with a contact probe or calibrated infrared thermometer. Compare it to the fiber's safe ceiling rather than to the air setpoint.
- Airflow across the web or load. Low airflow extends dwell time and lets moisture and heat concentrate; high airflow can dry the surface too fast and drive dye to the surface.
- Dwell time per roll or batch, measured from entry to exit rather than assumed from conveyor speed.
A common pattern is to lower air temperature and extend dwell time when a shade is heat-sensitive. The trade-off is throughput: longer dwell time reduces capacity, so the setpoint has to be balanced against the line's output target rather than set to the machine maximum.
Fiber and Dye-Specific Parameters
Treat these as starting points, then validate on your own line:
| Fiber / Dye Type | Heat Sensitivity | Drying Approach | Main Risk |
|---|---|---|---|
| Cotton, cellulosics | Moderate | Moderate heat, controlled dwell | Yellowing from oxidation |
| Polyester | High | Low heat, extended time | Dye migration, heat set-in shifts |
| Wool, protein fibers | High | Low heat, gentle airflow | Yellowing, felting |
| Reactive dyes | Moderate | Moderate heat after full wash-off | Bleed if residue remains |
| Dark shades | Moderate | Low heat, even airflow | Visible crocking and shading |
The pattern is consistent: the darker or brighter the shade, the less heat tolerance you have before a shift becomes visible. That is why a single machine default fails on a mixed line, the setting that is safe for cotton can push a dark polyester shade into migration.
Watch out: raising air temperature to shorten dwell time is the most common shortcut that produces heat yellowing and dye migration, and the damage often does not appear until the fabric cools or sits in storage.
Preventing Color Transfer in Textiles Across the Drying Line
Preventing color transfer in textiles comes down to sequencing. Dye migration happens when loose dye moves from one fabric to another, or across a single piece, under heat and moisture.
- Dry light and dark batches on separate cycles.
- Never load different dye classes into the same dryer run.
- Confirm wash-off is complete before drying reactive-dyed goods.
- Keep dryer drums clean between shade families.
For laundry-side practices that translate well to production, our article on preventing dye bleeding in laundry covers the practical steps.
Skipping a drum clean between a dark run and a white run can cause cross-shade contamination.
Fabric Colorfastness Testing Before and After Drying
Fabric colorfastness testing is the practice of measuring how much color a textile loses or transfers under controlled conditions, and it is the only reliable way to confirm a dryer setting is safe.
Test both sides of the drying step:
- Before drying: run a crocking test on a sample from each lot.
- After drying: repeat the same test on the dried sample.
- Compare results: a drop in rating after drying means the dryer settings need review.
A hands-on method makes this practical on the production floor. Our guide on how to perform a fabric color crocking test shows the full procedure.
Root-Cause Diagnosis and Quality Control Metrics
Root-cause diagnosis means tracing a shade complaint back to a specific process variable instead of re-dyeing and hoping. Without metrics, you are guessing. The competitive gap here is that most guidance stops at "check your temperature"; a production line needs a symptom-to-cause map, calibrated instruments, and a documented batch record.
Symptom-to-Cause Troubleshooting
Match the defect pattern to the likely cause before changing any setpoint:
- Uniform yellowing across the batch points to heat exposure or oxidation, check fabric surface temperature against the fiber ceiling and review dwell time.
- Patchy or blotchy shade points to uneven airflow, overloaded batches, or wet spots, check airflow across the web and load packing density.
- Shade shift that appears days after drying points to residual moisture or chemical residue still reacting, check exit moisture and wash-off completeness.
- Dark streaks or spots point to mineral deposits or rust, check water supply and dryer drum condition.
- Color transfer between pieces points to dye migration from incomplete wash-off or mixed dye classes in one run, check sequencing and drum cleaning between shade families.
Instrumentation and Calibration
Measurements are only useful if the instruments are trustworthy. Calibrate temperature probes, infrared thermometers, and moisture meters on a scheduled interval and keep the calibration records with the batch file. A drifting probe can make a failing dryer look compliant.
For color, use a spectrophotometer against an approved standard and record the readings rather than relying on visual approval under inconsistent lighting.
Batch Documentation and Corrective Action
Track these numbers on every batch and keep them with the production record:
- Dryer temperature at entry, middle, and exit, plus fabric surface temperature at each zone exit.
- Dwell time per roll or batch.
- Exit moisture content as a percentage.
- Color measurement readings against the approved standard, with the tolerance noted.
- Load weight and packing density.
When a batch falls outside tolerance, the corrective-action workflow should be repeatable: quarantine the batch, identify which recorded variable drifted, adjust that variable, re-run a sample through the same cycle, and re-measure before releasing the batch. Our reference on fabric quality standards for mass production covers the metrics worth adopting.
Watch out: releasing a batch on visual approval alone, without a recorded color reading, can leave a recurring shade defect undiagnosed.
Sourcing Fabrics That Hold Color Through Production
The cheapest fix for dryer discoloration is buying fabric that tolerates the process.
- Ask for colorfastness data before placing a bulk order.
- Confirm the dye class used, not just the shade name.
- Request samples from the same lot you will receive.
- Test a sample through your actual drying cycle first.
For polyester specifically, our 2026 guide to identifying quality polyester fabric lists the checks that predict color retention.
New Creations Fabric & Foam Inc offers a wide variety of fabric types, including sequins, velvet, and faux fur, with refined finishes designed for professional-scale manufacturing.
Dryer discoloration is a process problem, not a fabric inevitability.
Frequently Asked Questions
How can you keep fabric colors from fading during industrial drying?
Control three variables: temperature, dwell time, and airflow. Keep dryer temperature within the range the dye and fiber can tolerate, shorten dwell time to the minimum needed for the target moisture level, and maintain even airflow so no section overheats. Cool fabric gradually before folding or stacking, since residual heat trapped in a pile drives continued oxidation and shade shift. Run a colorfastness check on a sample from each batch before committing the full run to the dryer.
What causes fabric to discolor in a commercial dryer?
Fabric discoloration in commercial drying usually traces to one of four sources: excessive heat exposure that breaks down dye stability, moisture left unevenly in the web, chemical residue from detergent or bleach reacting under heat, or dye migration from adjacent fabrics. Oxidation drives much of the yellowing, which is why antioxidant treatments are used on some fabrics. A root-cause check should rule out each source in order rather than adjusting temperature alone.
How do heat and drying time affect fabric color?
Heat accelerates dye breakdown and oxidation, and longer dwell time extends that exposure. A fabric that tolerates a short pass at a given temperature may shift shade if it sits in the dryer twice as long. The relationship is cumulative, so reducing time often protects color as effectively as lowering temperature. Match both settings to the fiber type and dye class, and verify with a measured color check rather than visual inspection alone.
How do you test fabric colorfastness before bulk production?
Pull a sample from the actual production lot, not a reference swatch. Dry it under the same temperature, airflow, and dwell time the full run will use, then compare it against an undried control using a spectrophotometer or color measurement device. Record the shade variation numerically so you have a baseline for batch consistency. Repeat the test when you change dye lots, fabric suppliers, or dryer settings, since any of those can shift the outcome.
